Renovating a wooden piece of furniture involves removing the old finish, treating the substrate, and then applying a new protective coating. The result depends less on manual skill than on following a precise order and choosing compatible products.
Lead and VOC Risk: Two Checks Before Touching the Furniture
Most renovation guides jump straight to sanding. This is a mistake when working on an antique piece whose age or the origin of the paint is unknown.
An antique painted piece of furniture may contain lead in its finishing layers. Professional stripping guides recommend anticipating this risk before any sanding or using a heat gun. Heating or sanding lead paint disperses toxic particles into the surrounding air. If there is any doubt about the composition of the coating, it is better to avoid these two methods and opt for a gentle chemical stripping applied with a brush.
The other point concerns the products used for the rest of the project. The French label “emissions in indoor air,” mandatory since September 1, 2013, classifies volatile organic compound emissions from A+ to C. Systematically choosing A+ rated products limits exposure to VOCs in a lived-in room, especially if the renovated piece of furniture is placed in a bedroom or a poorly ventilated living room.
To delve deeper into the methods suited to each type of substrate, you can learn more about Philippon Architecte, which details approaches based on the wood and the original finish.
Wood Stripping: Chemical or Thermal, the Choice Depends on the Furniture
Stripping removes the existing finish (paint, varnish, or wax) to access the raw wood. There are two main methods, and they are not suitable for the same situations.
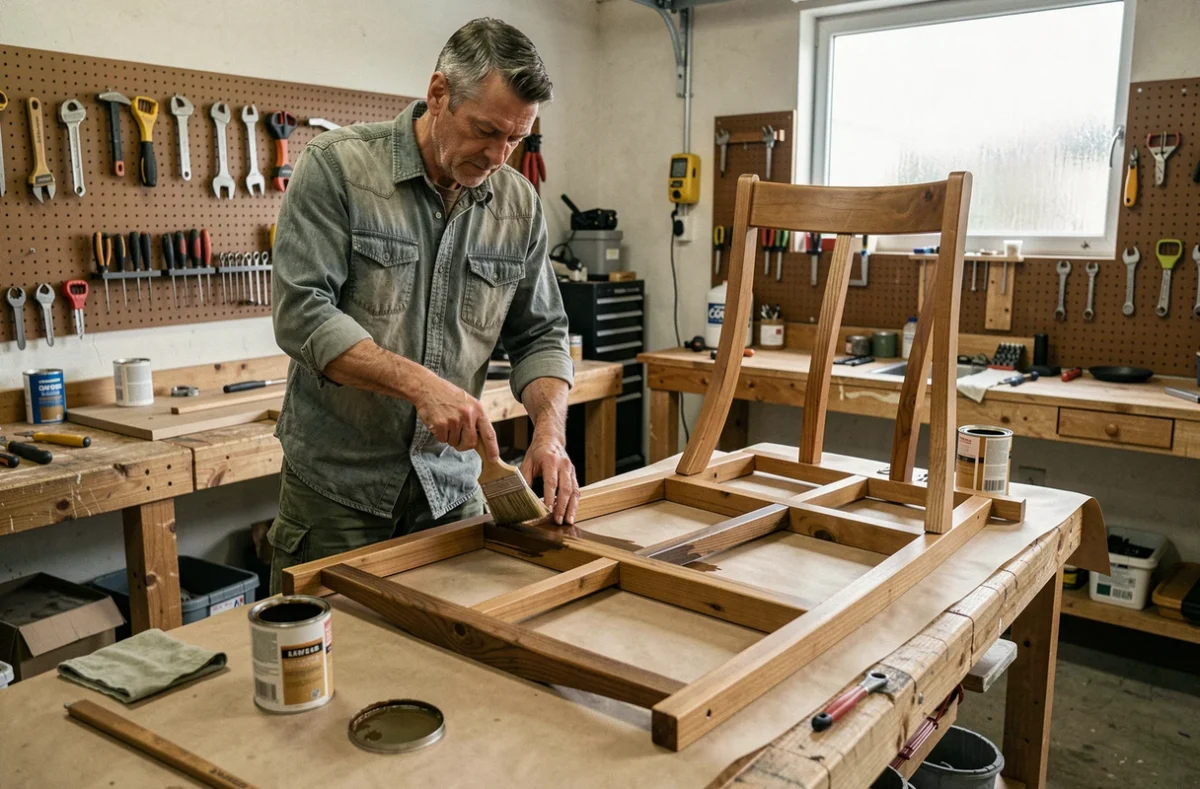
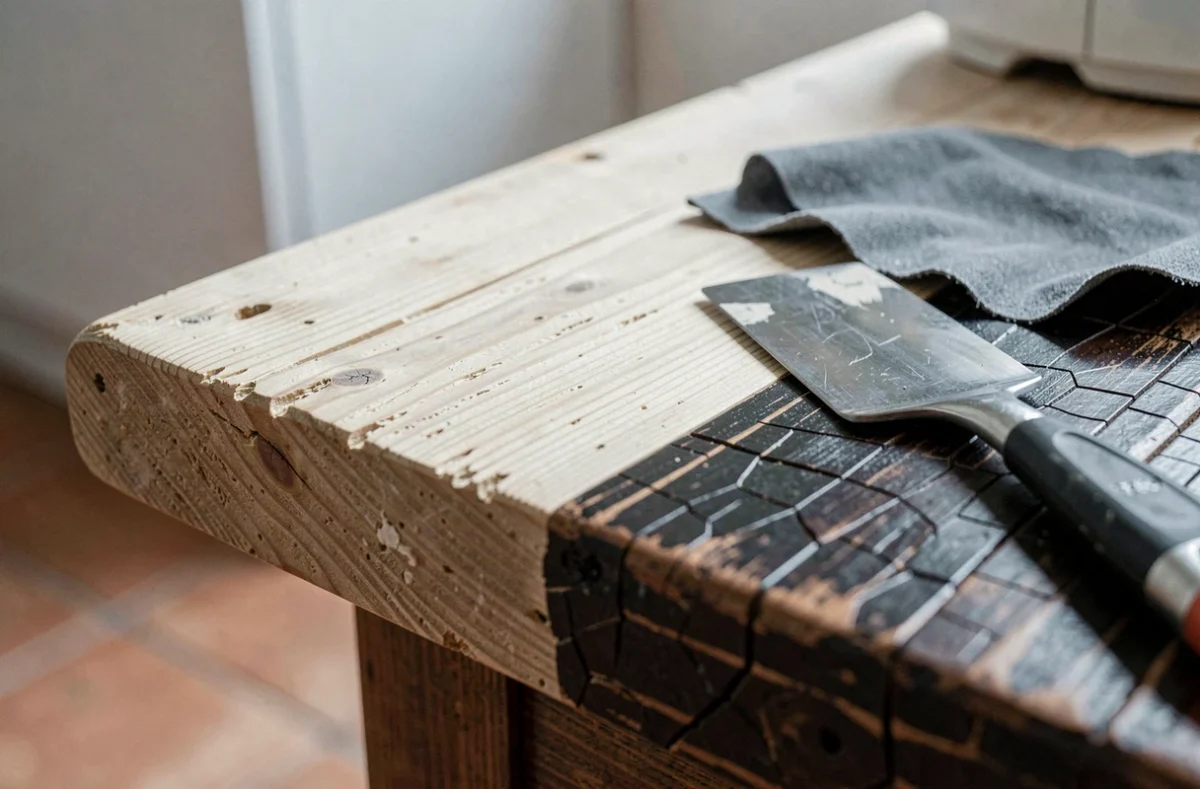
The chemical stripper is applied with a wide brush in a thick layer on the surface to be treated. After the indicated waiting time on the product sheet, the softened finish is removed with a spatula.
Next comes a phase often overlooked: the rinsing or neutralization of the stripper must be complete before any subsequent steps. Chemical residues trapped in the wood fibers can disrupt the adhesion of the future paint or alter the appearance of the varnish. The wood must also be allowed to dry completely before sanding.
The heat gun projects hot air that causes the paint to blister. This method works well on thick layers of recent acrylic or oil-based paint. However, it should be avoided on furniture whose paint may contain lead, and on thin or veneered woods that risk warping due to heat.
For waxed furniture, a wax remover or a cleaning solution is often sufficient. These products remove wax layers without attacking the wood, which sometimes allows for the preservation of the original patina if it is in good condition.
Sanding and Repairing the Wood Before Finishing
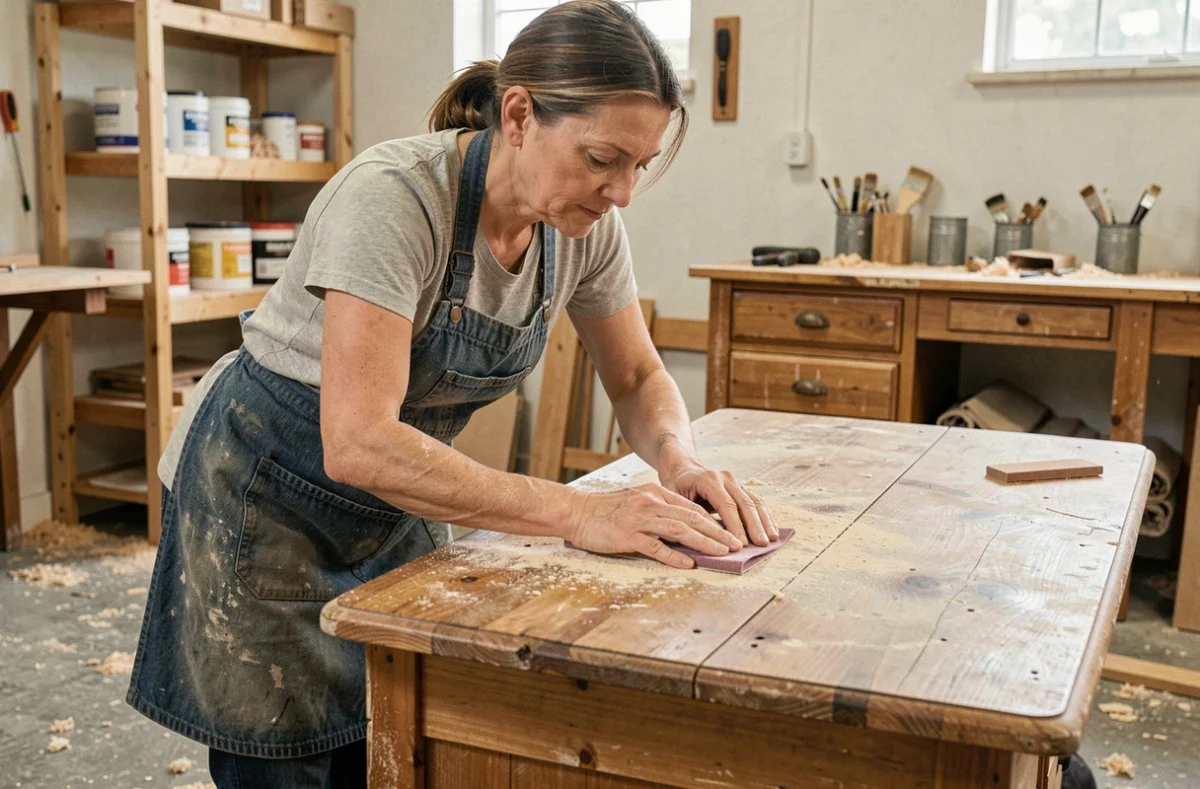
Once the wood is stripped and dry, sanding evens out the surface and opens the pores for the finish to adhere. Always work in the direction of the wood grain, never across it, to avoid creating visible scratches once the varnish or paint is applied.
The progression of the grit follows a simple logic:
- Medium grit to remove the last traces of finish and flatten surface irregularities
- Fine grit to smooth the wood and prepare for the adhesion of the primer or varnish
- Very fine grit, with a light pass between two layers of finish, to eliminate micro-roughness and achieve a satin touch
Repairs are made after the first sanding and before the finish. Wood filler fills nail holes, chips, and small cracks. For larger missing areas or weakened joints, a vinyl wood glue held under a clamp during drying restores structural integrity.
Paint, Varnish, Oil, or Wax: Compatibilities and Final Appearance
The choice of finish determines both the appearance of the furniture and its future maintenance. Each option behaves differently on wood.
- Paint masks the grain and allows for a radical style change. It requires a primer on raw or sanded wood, followed by two coats of paint with light fine sanding between each coat
- Varnish protects the wood while allowing the grain to remain visible. It comes in matte, satin, or glossy finishes. Two to three thin coats are better than one thick coat that may run
- Oil penetrates the fibers and nourishes the wood deeply. It gives a natural and matte appearance but requires regular maintenance (one to two applications per year on frequently used furniture)
- Wax offers a soft touch and a warm patina. It is applied to raw or oiled wood, never on varnish, as it does not adhere to film-forming surfaces
A common pitfall: applying wax over poorly stripped old varnish. Wax and varnish are incompatible on the same surface. If the stripping leaves areas of residual varnish, the wax will not penetrate in those spots and will create irregular stains.
Managing Stripping Residues and Waste
Rags soaked in stripper, paint chips, and leftover chemicals should not be disposed of with regular household waste. In France, the departmental health regulations prohibit the domestic incineration of waste. Burning painted wood or stripping residues releases harmful pollutants.
These wastes must be directed to the local waste disposal site, in the appropriate stream for their nature. Empty or leftover paint, varnish, and stripper containers fall under specific diffuse waste. Proper sorting at the end of the project prevents soil contamination and protects the air quality of the surrounding area.
Ultimately, renovating a wooden piece of furniture hinges on three points: the preparation of the substrate, the compatibility between product layers, and the drying time respected at each stage. Neglecting any of these three phases will always be reflected in the final result.